Skip to content
Lash Lift | How To
December 5, 2019 by The Lash Professional.
Oh hey babe! Long time, no lash. This week we’re laying out all the things you need to know to do a lash lift. There are different supplies you’ll need and steps to follow, so I’ll be linking the necessary supplies for each step!
Lashes are like snowflakes. Each client’s lashes are unique, so have a consultation with your client before you perform the service. Some have short lashes and some have lashes for days. This is why you should always have a variety of lash lift rod sizes on hand. Not only this, but some clients might want super curly lashes, while some might just want them less pin straight. It’s important to have a consultation so you can provide your clients with the look they’re going for, and keep them happy.
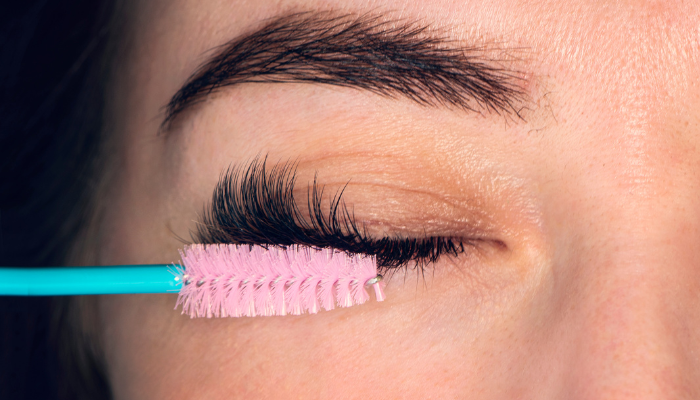
To have the best possible results for pretty much any lash service, we want the lashes to be squeaky clean. Use a gentle lash cleanser and a soft lash cleansing brush to clean your client’s lashes, so the different solutions are able to get to the lashes and not just the dirt and dead skin buildup. When you’re done cleaning the lashes, make sure they’re dry and apply the eye pads to protect the sensitive under-eye skin!
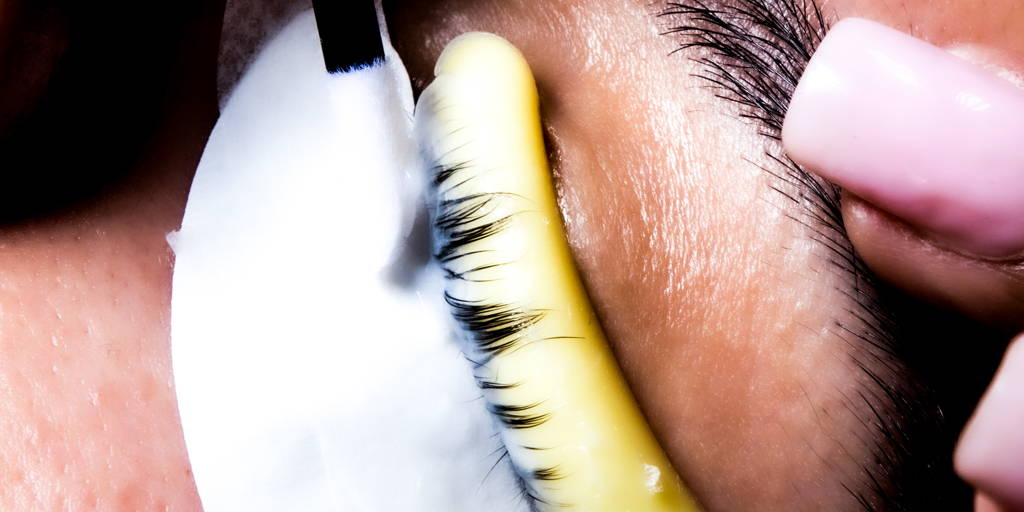
Once you’ve chosen the correct rod size for your client’s lashes, apply lash lift glue to the back of the rod. This is what sticks the rod to your client’s eyelid and keeps it from shifting during the service. Once the adhesive is tacky, apply the rod as close to the lash line as possible, without touching the lashes. This will help make sure the lashes can curl around the rod comfortably.
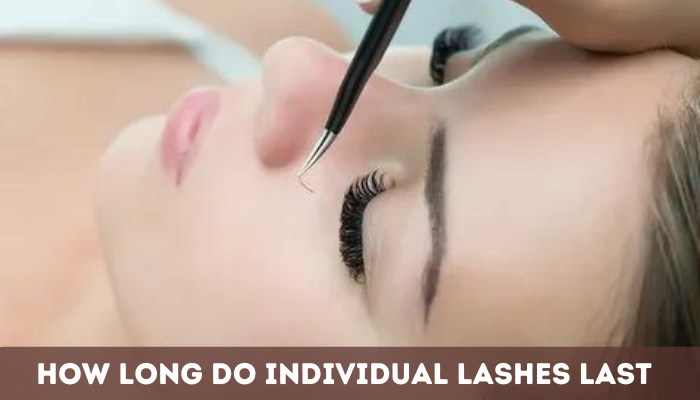
You’re going to use the same lash lift adhesive to glue the lashes to the rod, so you’re going to want to wait until it’s tacky again. Otherwise, you’ll just be coating the lashes in wet glue, and they won’t actually stick to the rod. Guide the lashes up onto the rod with whatever tool works best for you. We personally like to use a curved lash tweezer, because it’s not only comfortable, but it helps really flatten the lashes onto the rod, and spread the adhesive through the lashes.
Additionally, work in sections. This will help you ensure that every lash is sticking to the rod, and that they’re staying there! Apply more adhesive as necessary.
Again, use whatever works best for you, but we highly recommend using micro brushes to apply the lash lift lotion. Micro brushes work great, because you only want to apply lotion to the midsection of the lashes, and micro brushes are small enough to allow you to be very precise with application. You can apply plastic wrap after the lotion, if you want, to keep the lotion free from air, and to help keep the lashes on the rod. Check the processing time for whatever product you’re using, and take into account the conditions of your client’s lashes.
After the processing time is up, you can remove the lash lift lotion.
Apply the set lotion the same way you applied the lift lotion. You may use plastic wrap again, if you’d like.
Repeat Step 6. Isn’t this easy?
Unlike the lift and set lotions, you can actually get nourish lotion all over the lashes. This is a good time to begin to remove the lashes from the rod, by gently getting under the lashes with a micro brush. Also, gently remove the lash lift rod, keeping in mind that you glued it on! Nothing we do should cause discomfort to your client.
Make sure your client is totally ready when the service is over. This means making sure they look flawless. No glue residue should be found after the service, and if you tinted the lashes, make sure their skin didn’t get stained somehow…but you used eye pads, right? Clean the excess nourish lotion off of the lashes, too.
If you read all of that, and you’re craving some visualization? Check out the video below! Then shop our lash lift supplies so you can lift up lashes for happy clients.