Skip to content
The Best Eyelash Mapping Guide: Creating Perfect Lashes For Your Clients
Oct 13, 2022 by The Lash Professional.
As a lash technician, it is important to not only master the skill of applying eyelash extensions, but also the artistry of creating the perfect set of lashes for each client. This is where lash mapping comes in.
Lash mapping is a technique for planning which lengths, curls, and thicknesses you will use to create a fabulous set of extensions suited to your client's eye shape and natural lashes.
The eyelash mapping guide below is a fantastic way to make sure you stick to the plan for the desired look — with lash mapping; every lash will be in the spot it is supposed to be.
There are many different eyelash mapping designs that can be used as guidelines when applying lashes to clients. However, it's important to keep in mind that every eye is different, so make sure to adapt the design if necessary. This way, you can create a unique look that is perfect for each individual client. Eyelash mapping can be a great way to ensure that your clients end up with the perfect set of lashes, so don't be afraid to experiment and have fun with it!
If you're new to eyelash mapping or just want a refresher, we've put together a quick guide on the basics. Read on to learn more about how to map out eyelashes for the perfect set.
What Is Lash Mapping?
Lash mapping is the process of creating a map or blueprint of where you will place eyelash extensions on a client's lash line. This is done by looking at the shape of the eye and natural eyelashes and then planning out which lengths, curls, and thicknesses of lashes will go where.
Why Is Lash Mapping Important?
Eyelash mapping is important because it allows you to create a custom look for each client. No two people have the same eye shape or natural lash line, so it's important to be able to adapt your lash design to each person.
Lash mapping also helps to ensure that the eyelash extensions you apply are safe and will not damage the natural lashes. If you randomly apply lashes without considering the natural lash line, you run the risk of the extensions putting too much stress on the natural lashes and causing them to break or fall out.
How To Lash Map: Eyelash Mapping Guide
There are a few different ways that you can lash map, but the basic process is the same. Here's a step-by-step eyelash mapping guide below:
- Start by looking at the shape of the eye. You'll want to take note of the inner and outer corners, as well as the width and length of the eyelid.
- Next, take a look at the natural lash line. You'll want to make a note of where the lashes are sparse and where they are denser.
- Once you have a good understanding of the eye shape and natural lash line, you can start planning out your design. Decide which lengths, curls, and thicknesses of eyelash extensions you want to use and where you want to place them.
- Finally, once you have your design mapped out, you can start applying the eyelash extensions. Make sure to follow your lash map so that you place each extension in the correct spot.
- Once all eyelash extensions are in place, you can step back and admire your handiwork!
Natural Style Lash Map
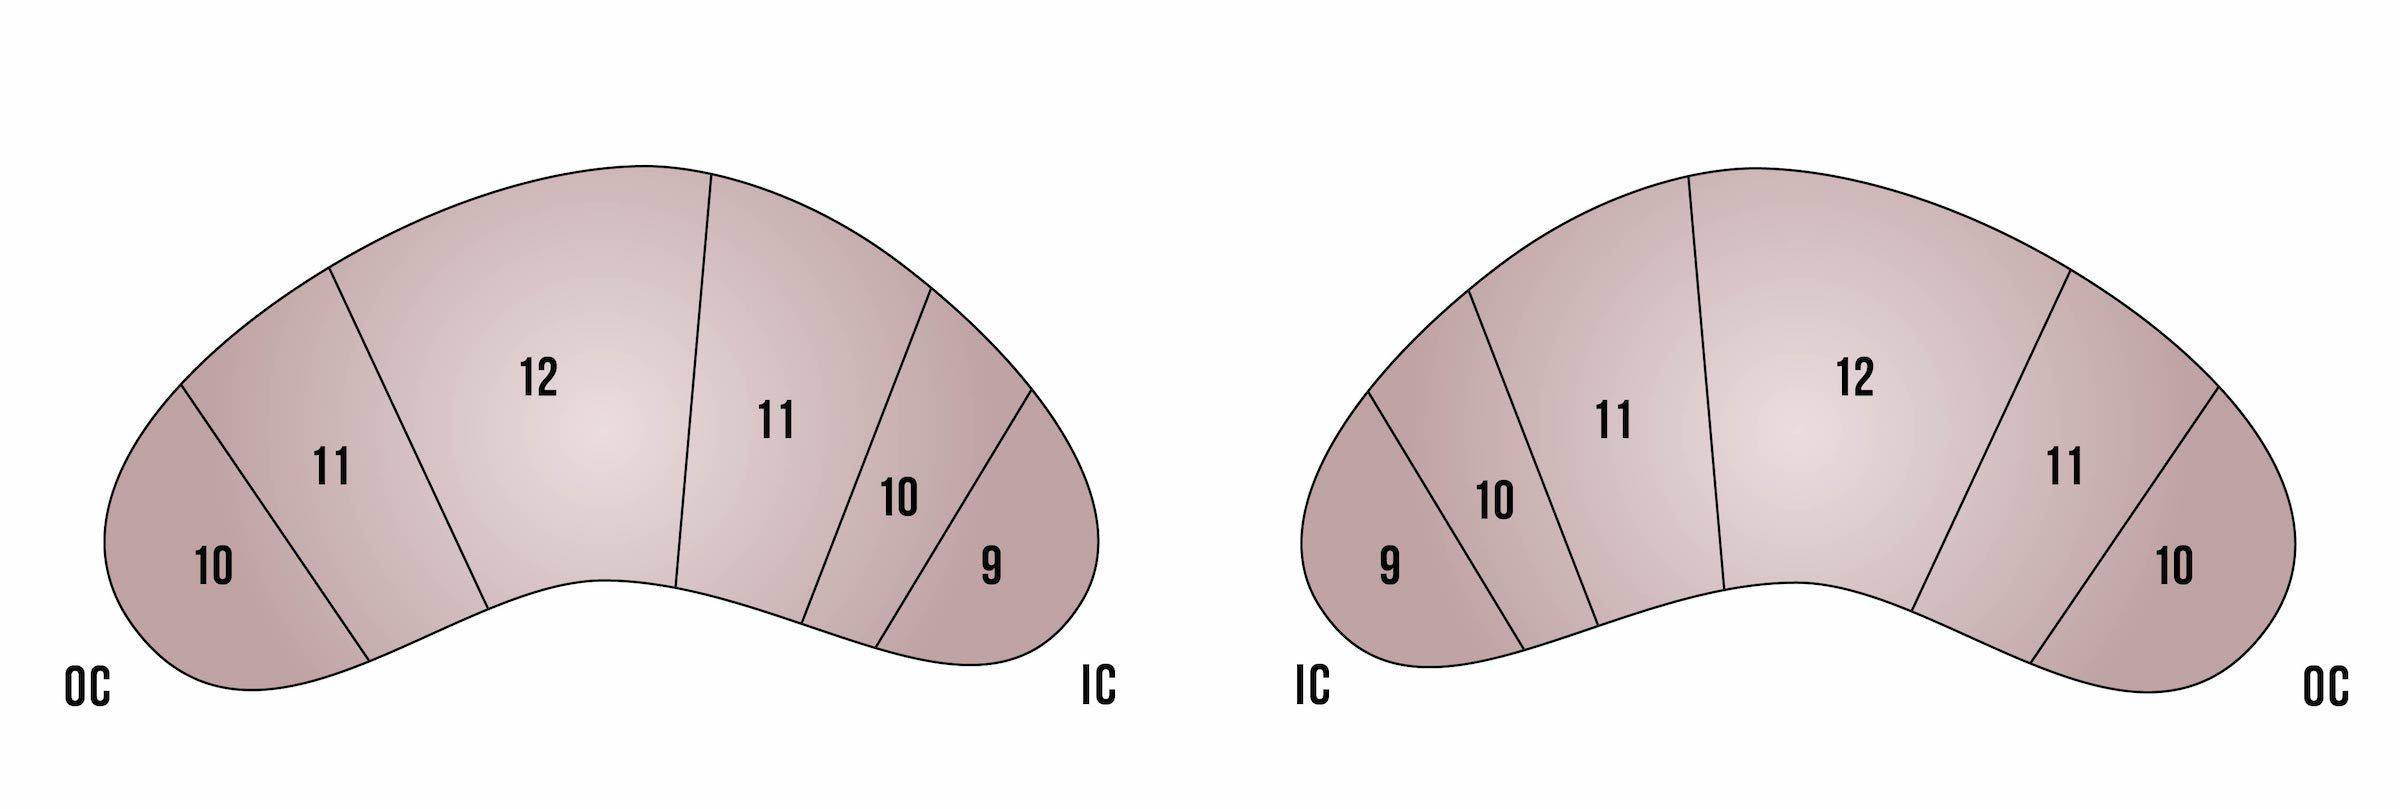
IC indicates Inner Corner and OC indicates Outer Corner.
Open Eye style Lash Map
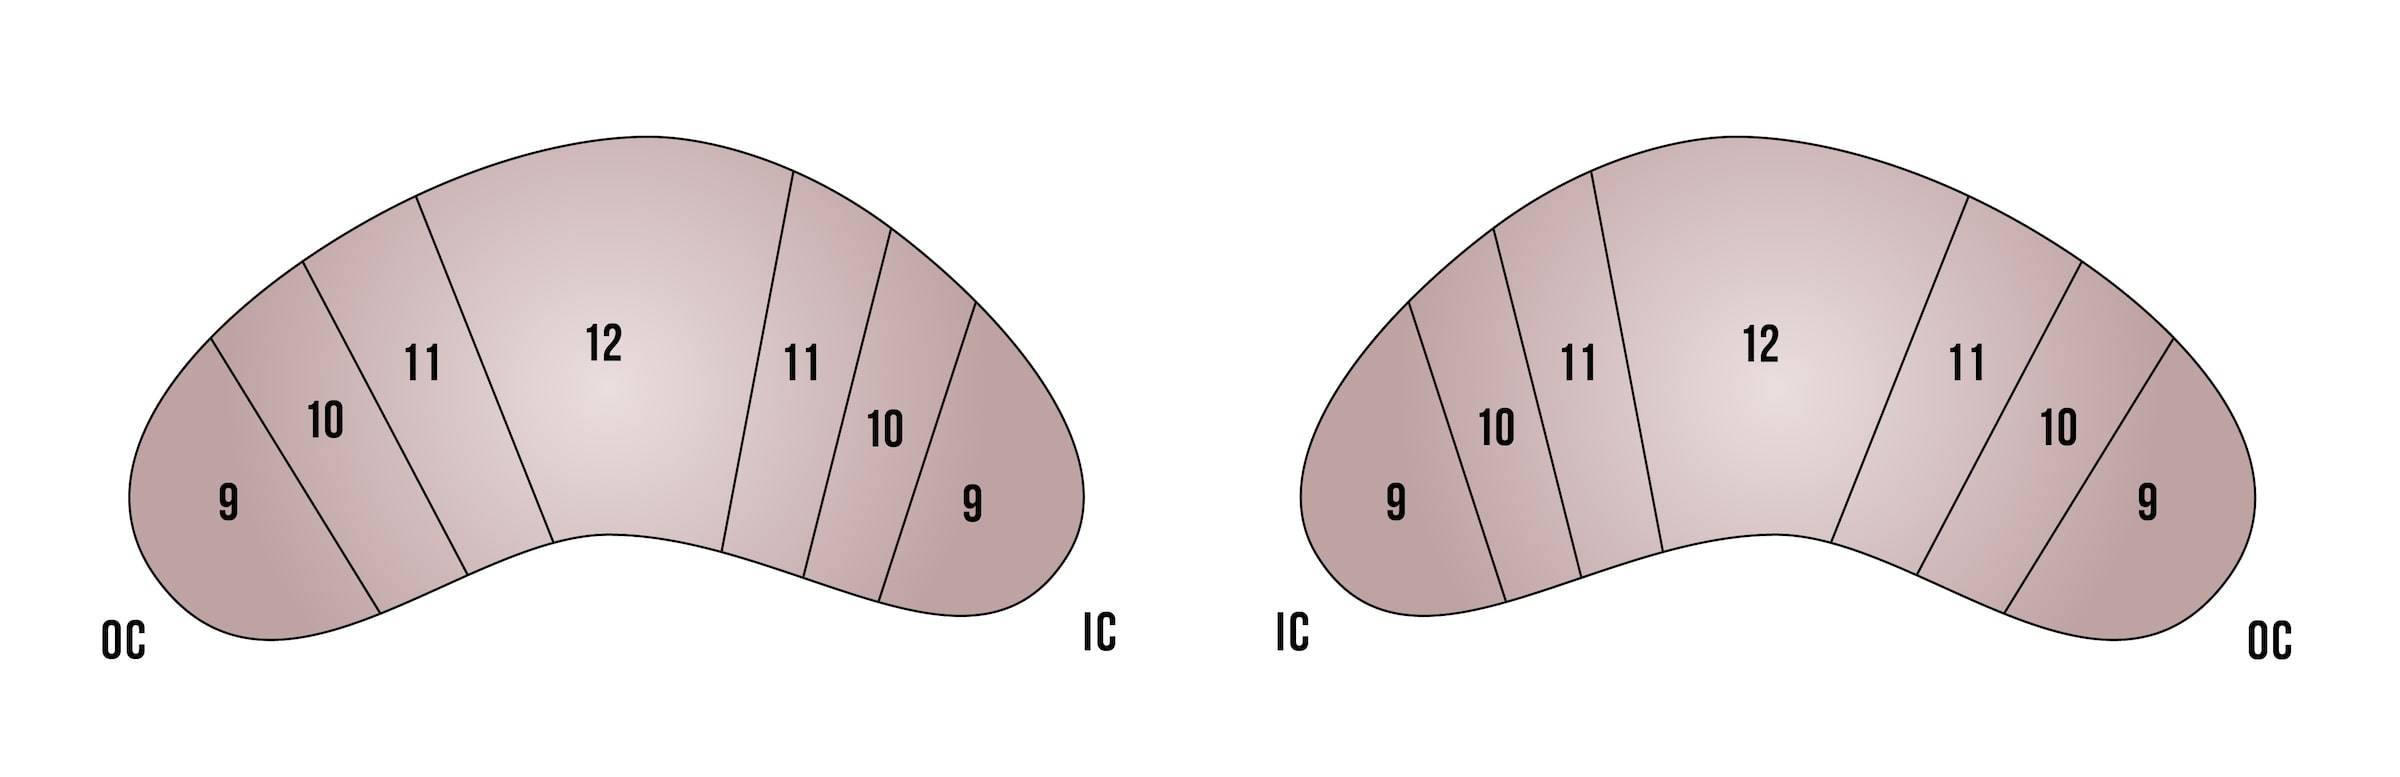
IC indicates Inner Corner and OC indicates Outer Corner.
Cat Eye Style Lash Map
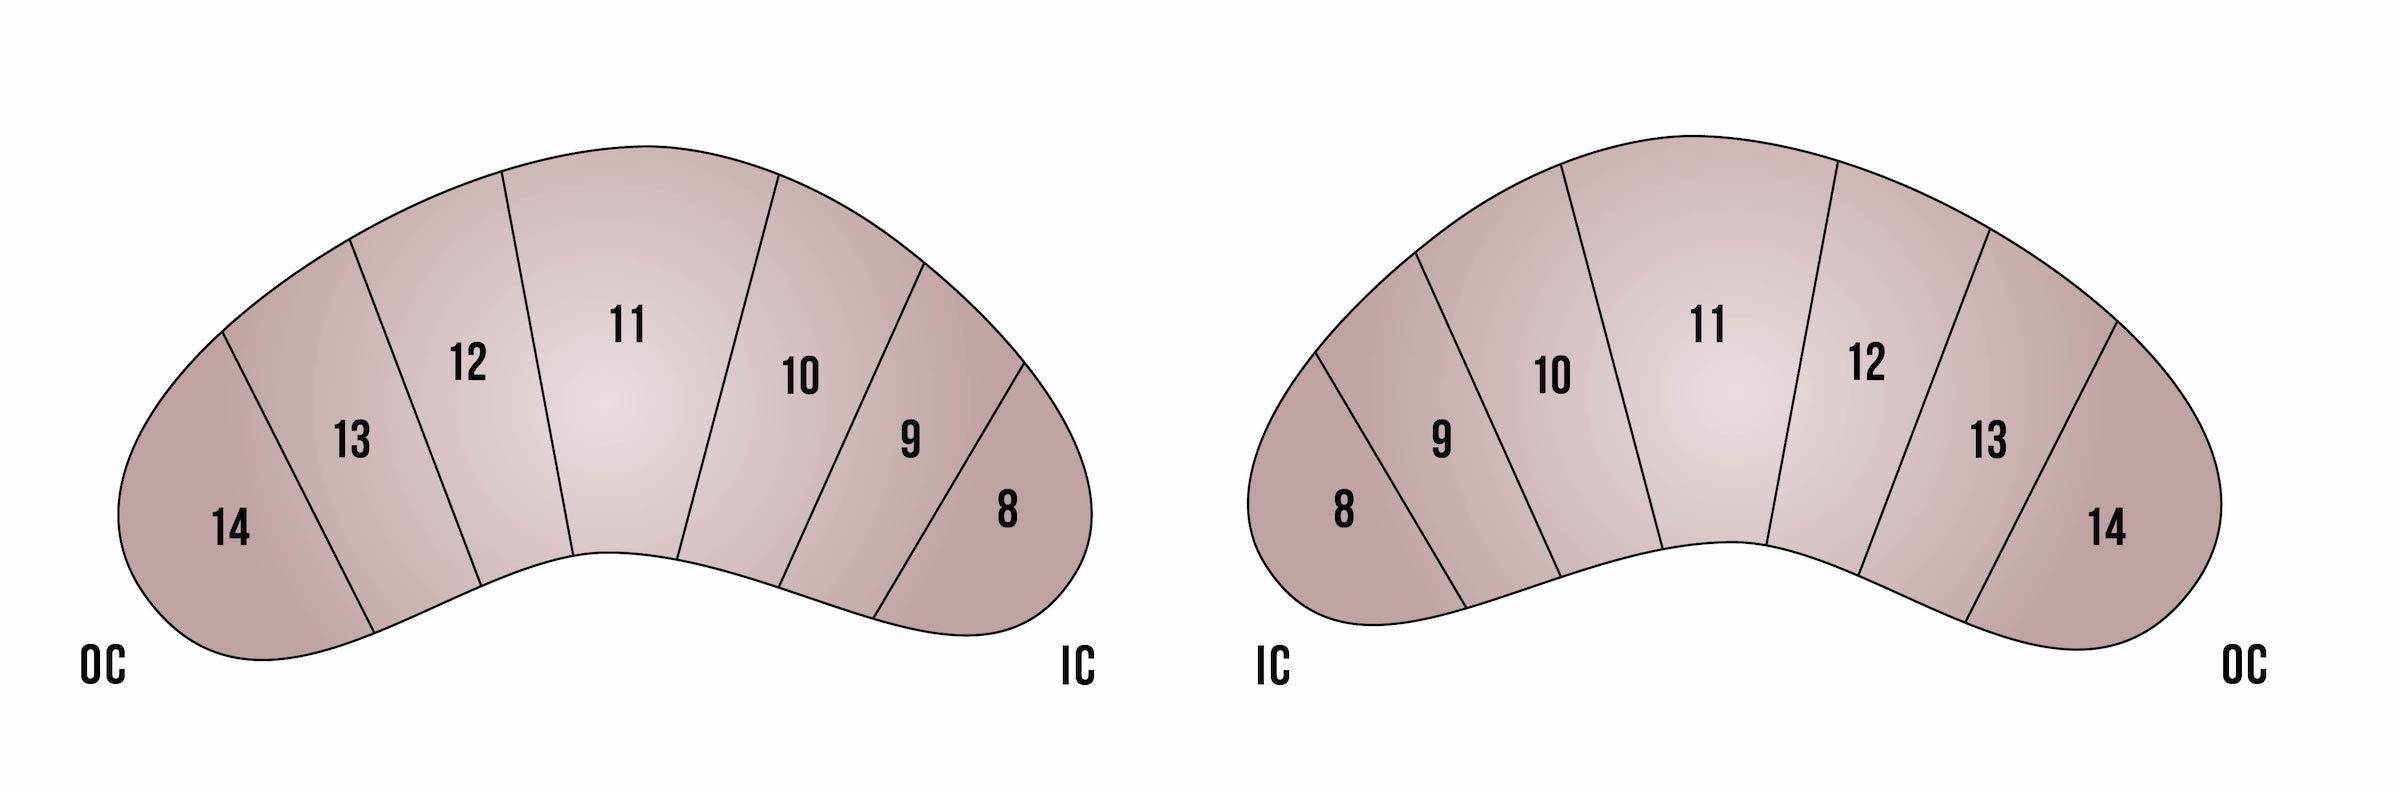
IC indicates Inner Corner and OC indicates Outer Corner.
Lash Mapping Tips
Here are some tips to keep in mind when lash mapping:
- Remember that every person’s eyes are different. Just because one eyelash mapping design works for one client does not mean it will work for all clients. Make sure to customize your designs to each gorgeous client.
- Lash mapping can be a bit of a trial and error process. Don't be afraid to experiment with different designs until you find something that works well for your client.
- Take your time when lash mapping. This is not a process that should be rushed — you want to make sure that you do it correctly so that your client ends up with the most bomb set of eyelashes.
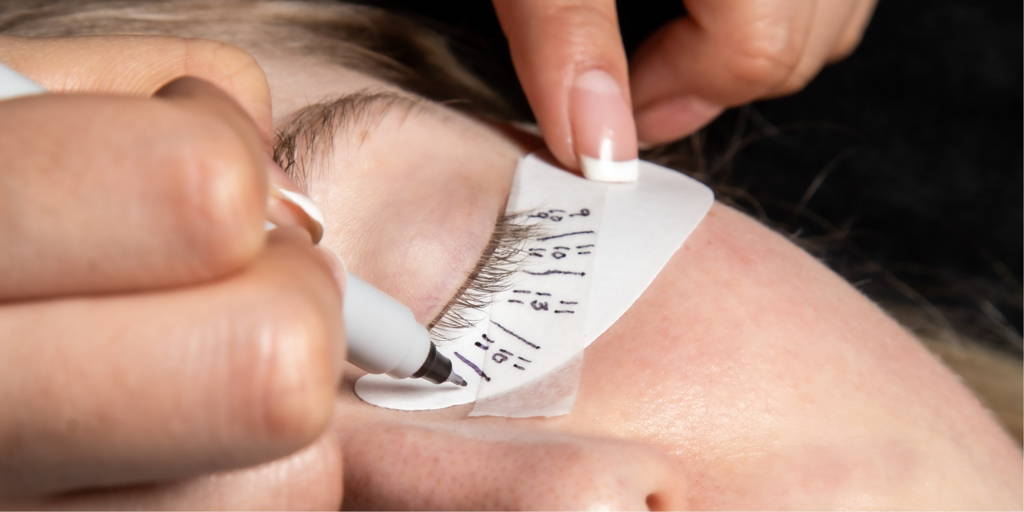
- Use an eyelash mapping tool to help you with the design process. There are many different eyelash mapping tools available online and in beauty supply stores.
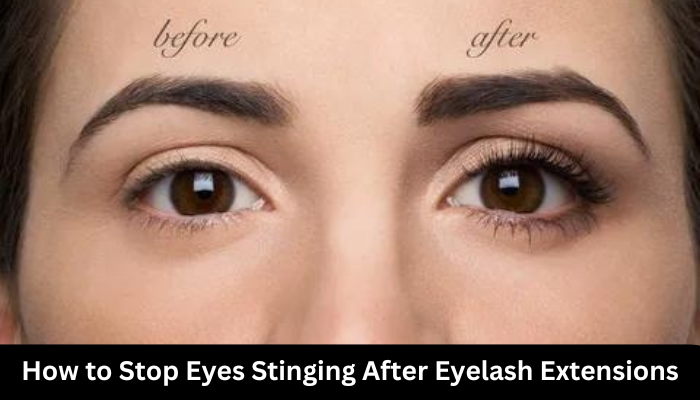
- Don't forget to take before and after photos of your work! This is a great way to show off your lash mapping skills to potential clients.
We hope this guide has been helpful in teaching you the basics of eyelash mapping.
For more information on eyelash mapping, eyelash extensions, lash lifting, brow lamination, and more, be sure to check out the courses and tutorials that The Lash Professional offers. We have everything you need to become a lash mapping expert.