Lash Setup: How to Create the Perfect Lash Space
February 18, 2021 by The Lash Professional.

Let’s talk about something super important: your lash setup. Whether you’re just starting out or revamping your lash space, creating the perfect setup is key to boosting your efficiency, wowing your clients, and setting yourself up for success.
As a lash artist I’ve learned that a well-organized and inviting lash space can make all the difference. So, grab a coffee (or matcha if that’s your thing), and let’s dive into how to create a lash setup that works for you and your cl
Why Your Lash Setup Matters
Your lash setup isn’t just about aesthetics—it’s about creating a functional, professional, and relaxing environment. Here’s why it matters:
Efficiency: A well-organized space saves you time and keeps your appointments running smoothly.
Client Comfort: A cozy, clean environment makes clients feel at ease and keeps them coming back.
Professionalism: Your setup is a reflection of your brand, so it’s important to make a good impression.
Steps to Your Lash Setup
Step 1: Choose the Right Location
First things first—where will you set up your lash space? Whether it’s a room in your home, a salon suite, or a shared studio, make sure it’s:
-Quiet and Private: Clients want to relax during their appointment, so choose a space that minimizes distractions.
-Well-Lit: Natural light is great, but you’ll also need a high-quality lash lamp for precision work.
-Spacious: You don’t need a massive area, but there should be enough room for your lash bed, storage, and tools.
Step 2: Invest in High-Quality Furniture
Your lash bed and chair are the stars of your setup, so choose wisely.
Lash Bed
-Opt for a comfortable, adjustable lash bed that supports your clients during long appointments.
-Add a memory foam topper or lash pillow for extra comfort.
Lash Chair
Your chair should be ergonomic to support your posture during back-to-back clients. Trust me—your body will thank you!
Step 3: Organize Your Lash Tools and Products
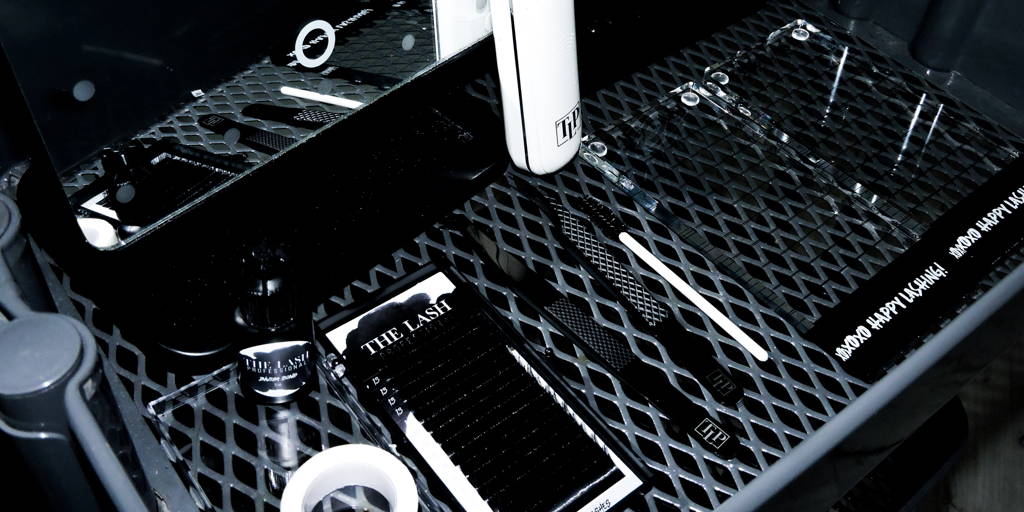
A clutter-free workspace is a happy workspace. Keep your tools and products organized and within arm’s reach.
Must-Have Tools:
-Lash trays in various curls, lengths, and diameters.
-Adhesives (store them in an airtight container to keep them fresh).
-Tweezers for isolation and application.
-Eye pads, tape, and lash cleanser.
Storage Tips:
-Use a lash cart with multiple tiers to keep everything organized and mobile.
-Label your lash trays and adhesive containers for easy access.
-Keep disposable items, like mascara wands and micro brushes, in separate compartments.
Step 4: Create a Relaxing Atmosphere
Your clients are here for more than just lashes—they’re here for the experience. Make your space inviting with these touches:
-Soft Lighting: Use warm, dimmable lights to create a cozy vibe.
-Music or White Noise: Play soothing music or white noise to help clients relax.
-Decor: Add a personal touch with plants, art, or a chic rug.
-Comfort Items: Keep a blanket and lumbar pillow on hand for extra client comfort.
Step 5: Prioritize Cleanliness and Sanitation
Cleanliness is non-negotiable in your lash setup. It’s not just about aesthetics—it’s about safety and professionalism.
Daily Cleaning Checklist:
-Disinfect your lash bed, chair, and tools after every client.
-Replace disposable items like eye pads and tape.
-Sweep or vacuum the floor to remove any lash debris.
Sanitation Tips:
Use a high-quality disinfectant like Barbicide for your tools.
Wash your hands before and after every appointment.
Keep your workstation clutter-free to minimize dust and germs.
Step 6: Brand Your Lash Space
Your lash space is an extension of your brand, so make it uniquely you.
-Signage: Add a cute sign with your business name or logo.
-Colors: Stick to a cohesive color palette that reflects your branding.
-Product Display: Showcase retail products (like lash cleansers) on a stylish shelf to encourage purchases.
Step 7: Test and Adjust Your Setup
Once your lash space is set up, work a few appointments and see how it flows. Ask yourself:
-Are your tools easy to access?
-Do clients seem comfortable?
-Is there anything you’d change to make your setup more efficient?
Don’t be afraid to tweak things as you go—it’s all part of creating the perfect space!
FAQs About Lash Setup
1. What’s the Most Important Part of a Lash Setup?
Client comfort and organization are key. A cozy lash bed and a well-organized workspace will make your appointments smoother and more enjoyable.
2. How Can I Keep My Lash Space Clean?
Disinfect your tools and furniture after every appointment, and stick to a daily cleaning routine.
3. Do I Need a Large Space for Lashing?
Not at all! A small, well-organized space can be just as functional as a larger setup.
Final Thoughts on Lash Setup
Your lash setup is more than just a workspace—it’s where you create confidence and connection with your clients. By focusing on organization, cleanliness, and comfort, you’ll build a space that’s both functional and inviting.
Remember, your lash space is a reflection of your professionalism and your brand, so make it uniquely yours. With the right tools and a little creativity, you’ll create a setup that keeps clients coming back again and again.
Ready to elevate your lash setup? Explore The Lash Professional’s tools and products here!


