How to Remove Lash Extensions at Home: A Safe and Easy Guide
December 12, 2023 by The Lash Professional.

Let’s be honest, lash extensions are a total game-changer. But sometimes, life happens—you might need to remove them and the salon just isn’t an option. You’re probably wondering, How to remove lash extensions at home? As a lash artist with The Lash Professional, I always recommend professional removal, but if you must do it yourself, it’s important to follow a safe and gentle process. Removing lash extensions incorrectly can damage your natural lashes, and no one wants that!
This guide will walk you through the proper steps to remove lash extensions at home without causing harm to your lashes or eyes.
Why Professional Removal Is Best
Before diving into how to remove lash extensions at home, let’s address the ideal scenario: having a trained professional remove them for you. Lash artists use specialized tools and solutions to dissolve the adhesive safely without tugging or damaging your natural lashes. Plus, it’s quick, painless, and ensures your lashes stay healthy.
But we get it—sometimes you can’t make it to the salon, and removing them at home becomes necessary. If that’s the case, you’ll want to proceed carefully.
What You’ll Need
Removing lash extensions at home requires a few supplies to ensure a gentle and effective process.
Here’s what you’ll need:
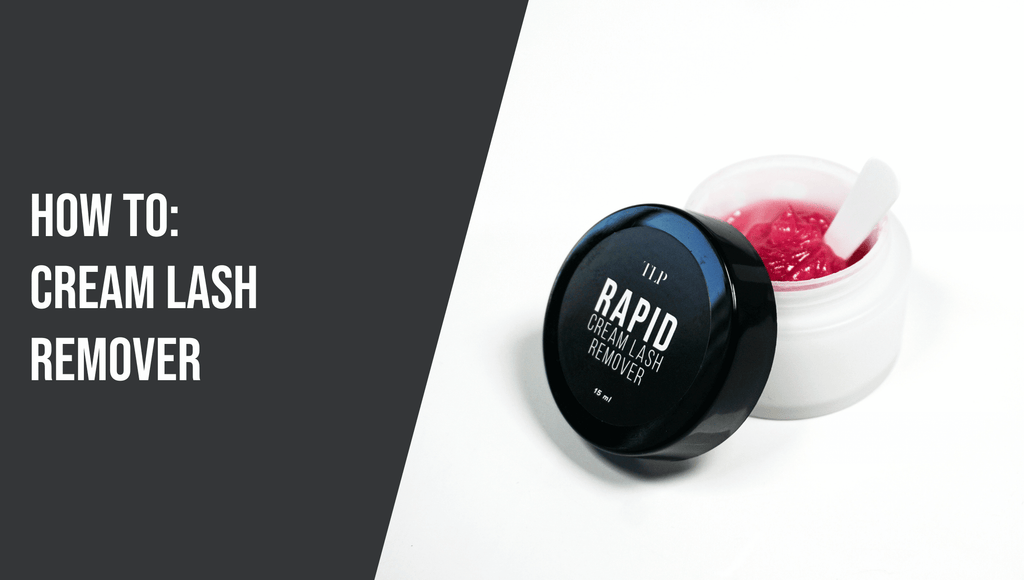
Coconut Oil
Oil helps break down the lash adhesive, making removal easier.
Lash Cleanser
A gentle, lash-friendly cleanser to clean your lashes after removal.
Lint Free Wipes
For precise application and gentle wiping, lint free wipes are the way to go.
Step-by-Step: How to Remove Lash Extensions at Home
Here’s the best way how to remove lash extensions at home safely:
Step 1: Prep Your Space
Before starting, make sure you’re in a clean, well-lit space with all your supplies ready. Removing lash extensions can take some time, so set yourself up comfortably.
Step 2: Apply an Oil-Based Remover
Oil is your best friend here. Grab some coconut oil and apply it to your lash line. Dip a lint free wipe and gently dab the product along your lash line, focusing on the base of the extensions. Avoid tugging or rubbing. Allow the oil to sit for a few minutes to break down the adhesive completely.
Step 3: Gently Remove the Extensions
After letting the oil work its magic, use a clean lint free wipe to gently wipe along your lash line. The extensions should slide off without much effort. If they resist, don’t pull—repeat the oil application and give it a little more time.
Important: Never forcefully pull or pluck lash extensions. This can damage your natural lashes and cause unnecessary pain.
Step 4: Clean Your Lashes
Once the extensions are removed, clean your lash line thoroughly with a lash cleanser. Use lash cleanser on a lint free wipe to wipe away any leftover lashes, oil, or cleanser. Pat your lashes dry with a soft towel and let them air dry naturally.
Step 6: Nourish Your Natural Lashes
After removing your lash extensions, it’s essential to give your natural lashes some extra TLC: Apply a lash serum to nourish and strengthen your lashes.
What Not to Do
When it comes to how to remove lash extensions at home, there are some definite don’ts:
Don’t Use Harsh Chemicals: Avoid using anything not meant for your eyes, such as acetone or alcohol. These can cause severe irritation or damage.
Don’t Pick or Pull at Your Lashes: This can lead to lash breakage or damage to the hair follicles.
Don’t Rush the Process: Be patient and let the steam and oil do their work. Rushing can lead to mistakes.
When to Seek Professional Help
If you’ve tried everything and your lash extensions aren’t budging, it’s time to book an appointment with a professional. Some adhesives are designed to be extra strong, and attempting to remove them at home can do more harm than good.
How to Prevent DIY Removal Next Time
To avoid needing to remove your lashes at home in the future, try these tips:
Keep Up with Refills: Regular fills every 2-3 weeks prevent gaps and maintain your lash line.
Schedule Professional Removal: If you want a break from extensions, plan a removal appointment with your lash artist.
Communicate with Your Artist: Let your lash artist know if you’re having any discomfort or want a style change—they’re here to help!
Final Thoughts on How to Remove Lash Extensions at Home
While it’s always best to have lash extensions removed by a professional, knowing how to remove lash extensions at home safely can save your natural lashes in a pinch. The key is to take your time, use gentle products, and avoid any harsh tugging or pulling. With a little patience, you’ll have clean, healthy lashes ready for your next set—or a break, if that’s what you need.
At The Lash Professional, we’re here to help with all things lashes, from expert applications to tips on maintaining lash health. Visit The Lash Professional for more tips, products, and services to keep your lashes looking their best.


